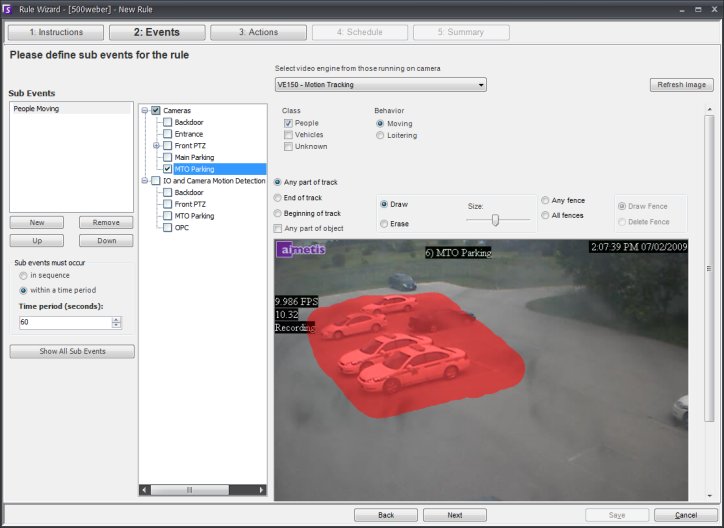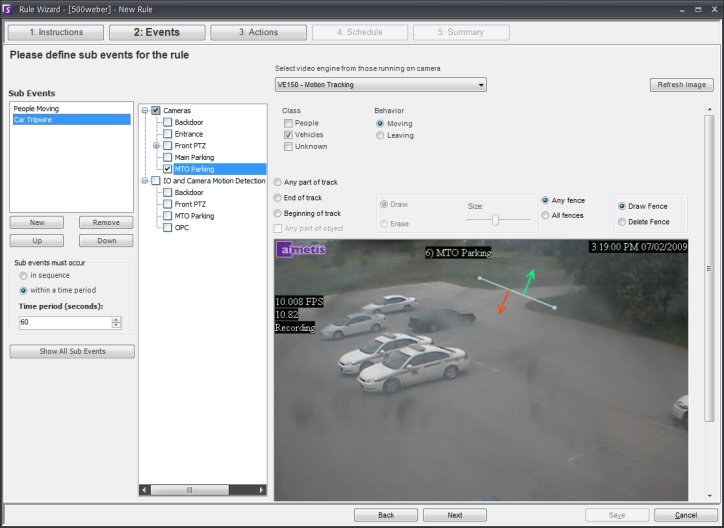
The first Rule Element to configure is the Event. An Event may comprise of one or more sub-events. For example, the Event may involve a car stopping and a person loitering within 30 seconds before the Event is triggered. The Event could also be an input from an Alarm IO device, or VMD detected on a network camera.
To configure the Event dialog when selecting a camera as an input, complete the following steps:
Select a camera to assign to this Rule in the dialog shown below

Select which video engine to configure from the select video engine from those running on camera.
Next, define what alarming attributes this rule will have, such as an alarm zone, or class of object (i.e. people, vehicles). Depending on the video engine, different options will be available.
If only one event will be used in the Rule, click Next to continue. If other events are to be included, click New.
Repeat steps 1-3 above. It is
possible to pick a different analytic engine for the same camera to combine
the Events in the Rule. Now in the Sub Events dialog you will notice 2
events listed (by clicking inside the Sub Events dialog and selecting
the sub-event, it can be renamed to something more descriptive).

In the Sub Events must occur section, it is possible to define what order or what period of time all the sub-events must occur in before the alarm will take place.
Click Next to configure the Actions
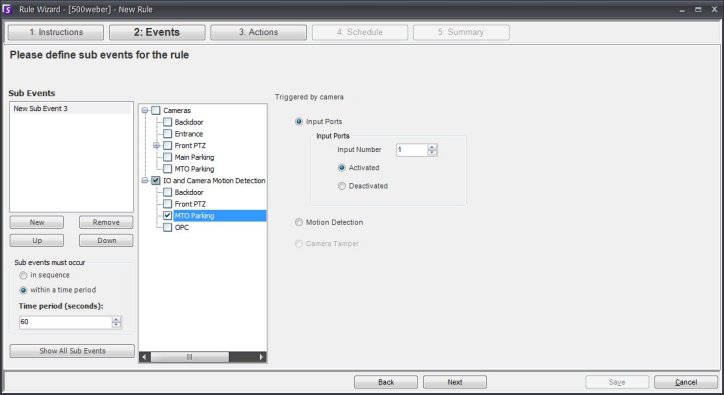
Alarm Inputs include Video Motion Detection (VMD) from network cameras, external IO devices, and many others. To configure the Events dialog when selecting the IO and Camera Motion Detection as an input, complete the following steps:
Select which Digital I/O Devices (DIO) to assign to this Rule in the dialog shown below
Select which Input Number to control, and then define if it should be Activated or Deactivated to trigger the event.

Click Next to configure the Actions.
 For
more information on how to configure the individual Video Engines, consult
the Video Analytics
section.