When working with PTZ cameras, you have the ability to set multiple home positions (camera tour), pan, tilt and zoom right from Symphony Client using a standard keyboard and mouse.
To move the camera you have three options. You can use the Navigation control (PTZ button on the toolbar), or use the mouse to drag a box around the region you wish to zoom in on.
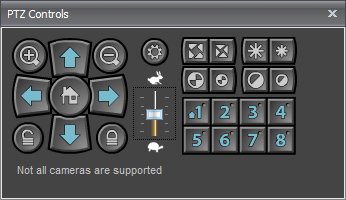
To open the control dialog of the dome or PTZ camera, click on the PTZ toolbar button, or click View > PTZ Controls.
The PTZ Navigation dialog are summarized below.

The arrows move a dome or PTZ camera up and down, left and right. If it's a fixed camera, will digitally move camera (must be digitally zoomed first). The +/- allows you to digitally zoom in or out (fixed camera), or optically zoom in and out (dome or PTZ cameras). Clicking Home will automatically bring camera back to its user defined Home Position. The numbers represent camera tour locations and provide easy navigation.
Method 1: Left click on the live view to recenter to
this position.
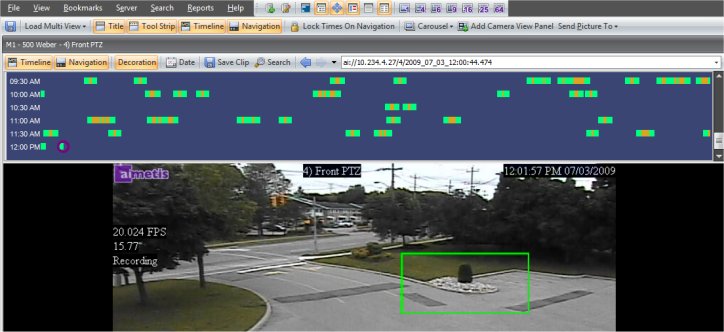
Method 2: Draw a green box around the object you wish
to zoom on (shown below).

Above: Draw a box around area of interest with mouse
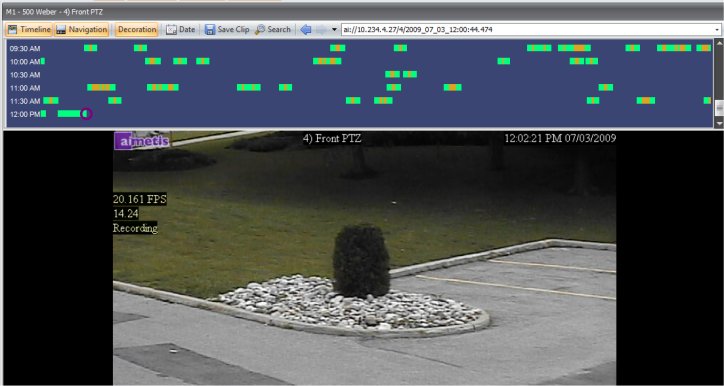
Below: After releasing mouse, PTZ zooms on area of interest.

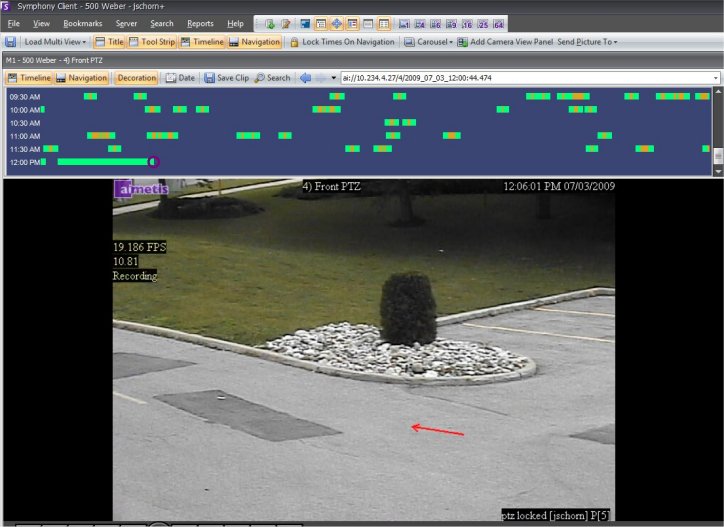
Method 3: Right click the live view to simulate a joystick
control. Draw the red arrow in the direction you wish to move the camera.
Adjust the length of the line to control speed of the camera.

Connect a USB joystick to the client PC running Symphony Client. Next, enable joystick control by clicking View > Joystick.
 To set the PTZ home position, visit the Camera Tour section for help.
See Also