Option/Design
Description
Grid
Grid lines are 1 meter apart.
Automatically displayed over scene.
Reference person icon
An orange colored form representing person size and position in an image.
Four populate the image automatically.
Move the reference person icons to various positions in the image, foreground and background as they would naturally occur.
To add more reference person icons, click your mouse on the image.
Delete Person
Removes a reference person icon.
Click the reference person icon and press Delete.
Interactive section
Allows you to adjust the grid and reference person size to match the underlying scene.
Using your mouse, you drag the camera icon up/down and left/right.
Zoom In and Zoom Out buttons
Allow you to zoom in and out in the interactive section.
Field of view (FOV)
Horizontal field of view.
If you increase the value, you must drag the camera icon closer (down) to get the correct person size.
If you decrease the value, you must drag the camera icon further away for the same rough size.
If you obtain the exact camera position by measuring the actual height and distance, then you must adjust Field of view to make the reference people icons the right size in the scene.
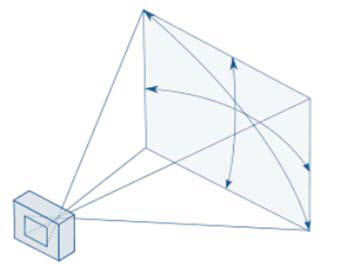
Mouse wheel perspective control
Allows you to control the amount of perspective in the scene without changing the overall scale. (Allows you to make a person icon a certain size while changing the Field of view so that the tilt of the other people icons and their relative size is correct.)
Position the mouse over the little diagram. Rotate the mouse wheel to increase or decrease the Field of view in 2.5 degrees increments, creating an opposite proportional change in the ground distance parameter.
Example: Ground distance is 10.0 meters and the Field of view is 60 degrees. One mouse wheel click changes Field of view to 62.5 degrees and ground distance to (60/62.5)*10.0 = 9.6 m. A mouse wheel click in the other direction changes Field of view to 57.5 degrees and ground distance to (60/57.5)*10.0 = 10.43 m.
Pan
Movement of the camera from left to right or right to left around the imaginary vertical axis that runs through the camera.
When the camera is pointed at the ground, it tilts the ground plane. When the camera is closer to horizontal, it looks more like a rotation of the ground plane.
Useful in an near-overhead view when the camera is pointing off to the side (that is, the deflection from vertical is not completely on the camera view’s up-down axis).
Twist
Rotation of the camera around the axis that extends directly out of the camera through the center of the view.
Useful in an angled view when the camera is twisted so that a vertical line in the world does not correspond to up-down in the image. Also useful if the ground in the image appears to tilt a bit from left to right.
Height and Distance fields
Values correspond to the movements of the camera icon in the interactive section.
Note: You can adjust the height and distance simultaneously by holding down the Shift key and scrolling the mouse wheel in the calibration window.
Warning message
Symphony displays a warning message if the camera angle does not agree with Overhead selection.