
Overview
The VE350 Algorithm is designed to detect left or removed items in moderately to less busy environments, and can work in indoor or outdoor situations. Typical deployments include commercial buildings, where items are not to be left behind or removed, as well as less busy locations at airports, bus stations, and so on.
Working Scenarios
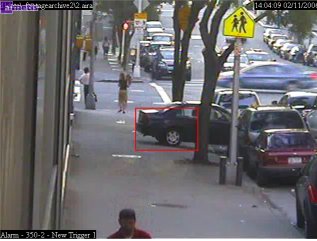
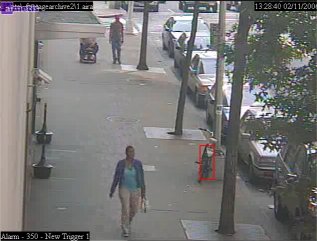
The VE350 algorithm is designed to work in indoor or outdoor situations. It will not work well in extremely busy environments. Camera position should normally be one or two storey's off the ground, and the camera angle can be flexible, depending on the field of view you wish to capture. Typical views of environments where the VE350 algorithm has been optimized is shown below:


VE350 Analytic Configuration Steps
Configure the camera to use the VE350 (see how to select analytics for more help).
Click on the Analytics
Config from Server
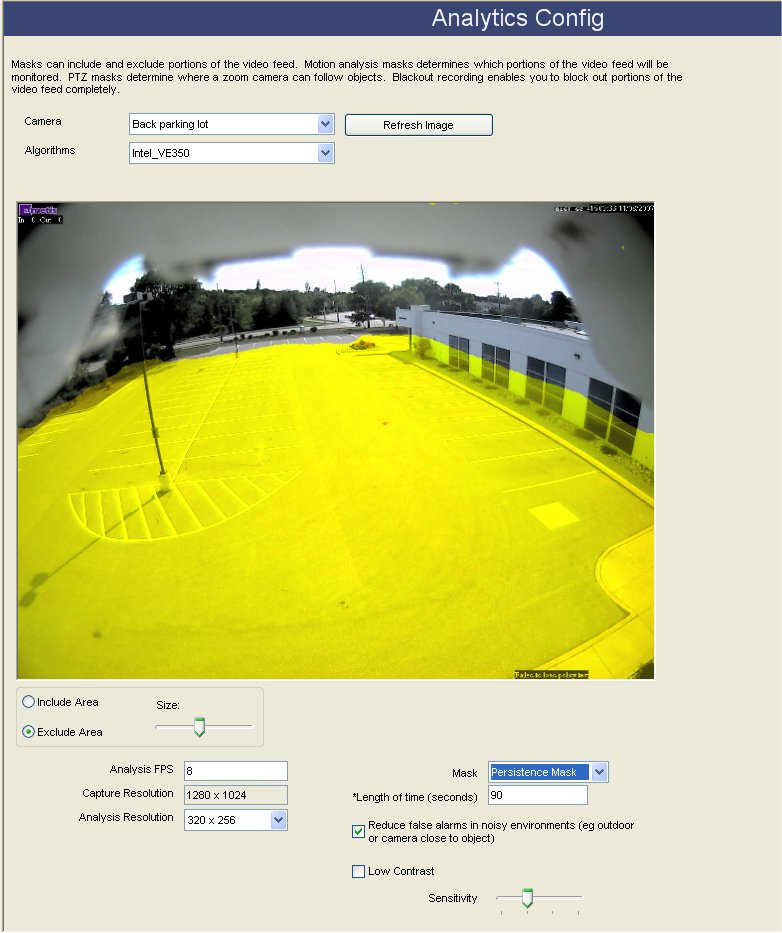
> Configuration. Modify the Motion
mask by clicking Motion Analysis
from the combo box and adjusting the yellow mask as required (see how
to configure analytics for more help). Select the Exclude
Area radio to erase the yellow mask, and select the Include
Area to draw the mask. The Size
slider adjusts the pen thickness.

Set the Analysis FPS to 8, the Record FPS value can be set higher. The Record FPS is set in the camera wizard dialog.
Define the length of time until an object is detected as left behind or removed.
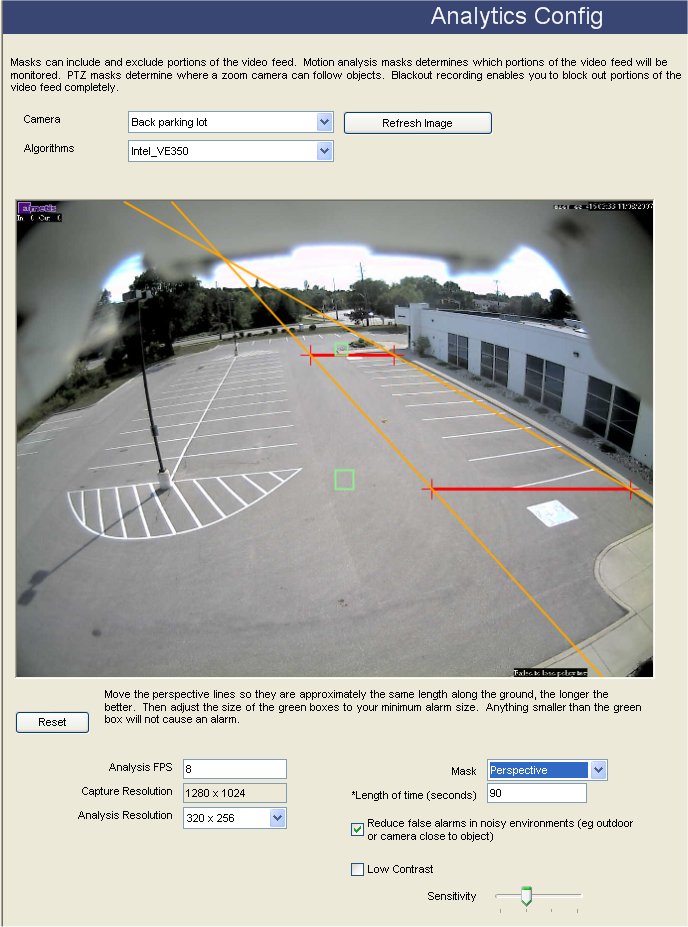
Select Perspective from the Mask combo box.

Modify the red lines to set proper Perspective information.
Modify the size of the green boxes to define the minimum object size required for alarms. Objects smaller than these boxes will not be detected.
Click OK to save settings.
VE350 Alarming Configuration Steps
Configuring the analytic (see above) is required before Policies using the VE350 can be created. The VE350 has the following options for alarm triggering in a Policy:
From the Policy wizard, select the camera and click Trigger
Mark the alarm zone using the Include and Exclude radio buttons. The Size slider adjusts the pen thickness.
Click OK to save settings
Other configuration
Ensure the Alarm Mask (the detection zone) is configured correctly.
Further notes
Currently, there is no distinction between left and removed items. Leave both selected.
Troubleshooting
Ensure the correct frame rate is being utilized, and that enough CPU is available on the system to perform proper analysis. If problems still persist, contact Aimetis for support. Have sample video showing problems available for Aimetis support specialist to review.
See Also